Jewelry Starts At The Bench
Practice the first steps of jewelry making with wire, beads, findings, pliers, files, and careful finishing checks before a piece is worn.
WHAT YOU PRACTICE
WIRE CONTROL
Shape loops, bends, and wraps with round-nose pliers while learning how pressure marks and uneven curves happen.
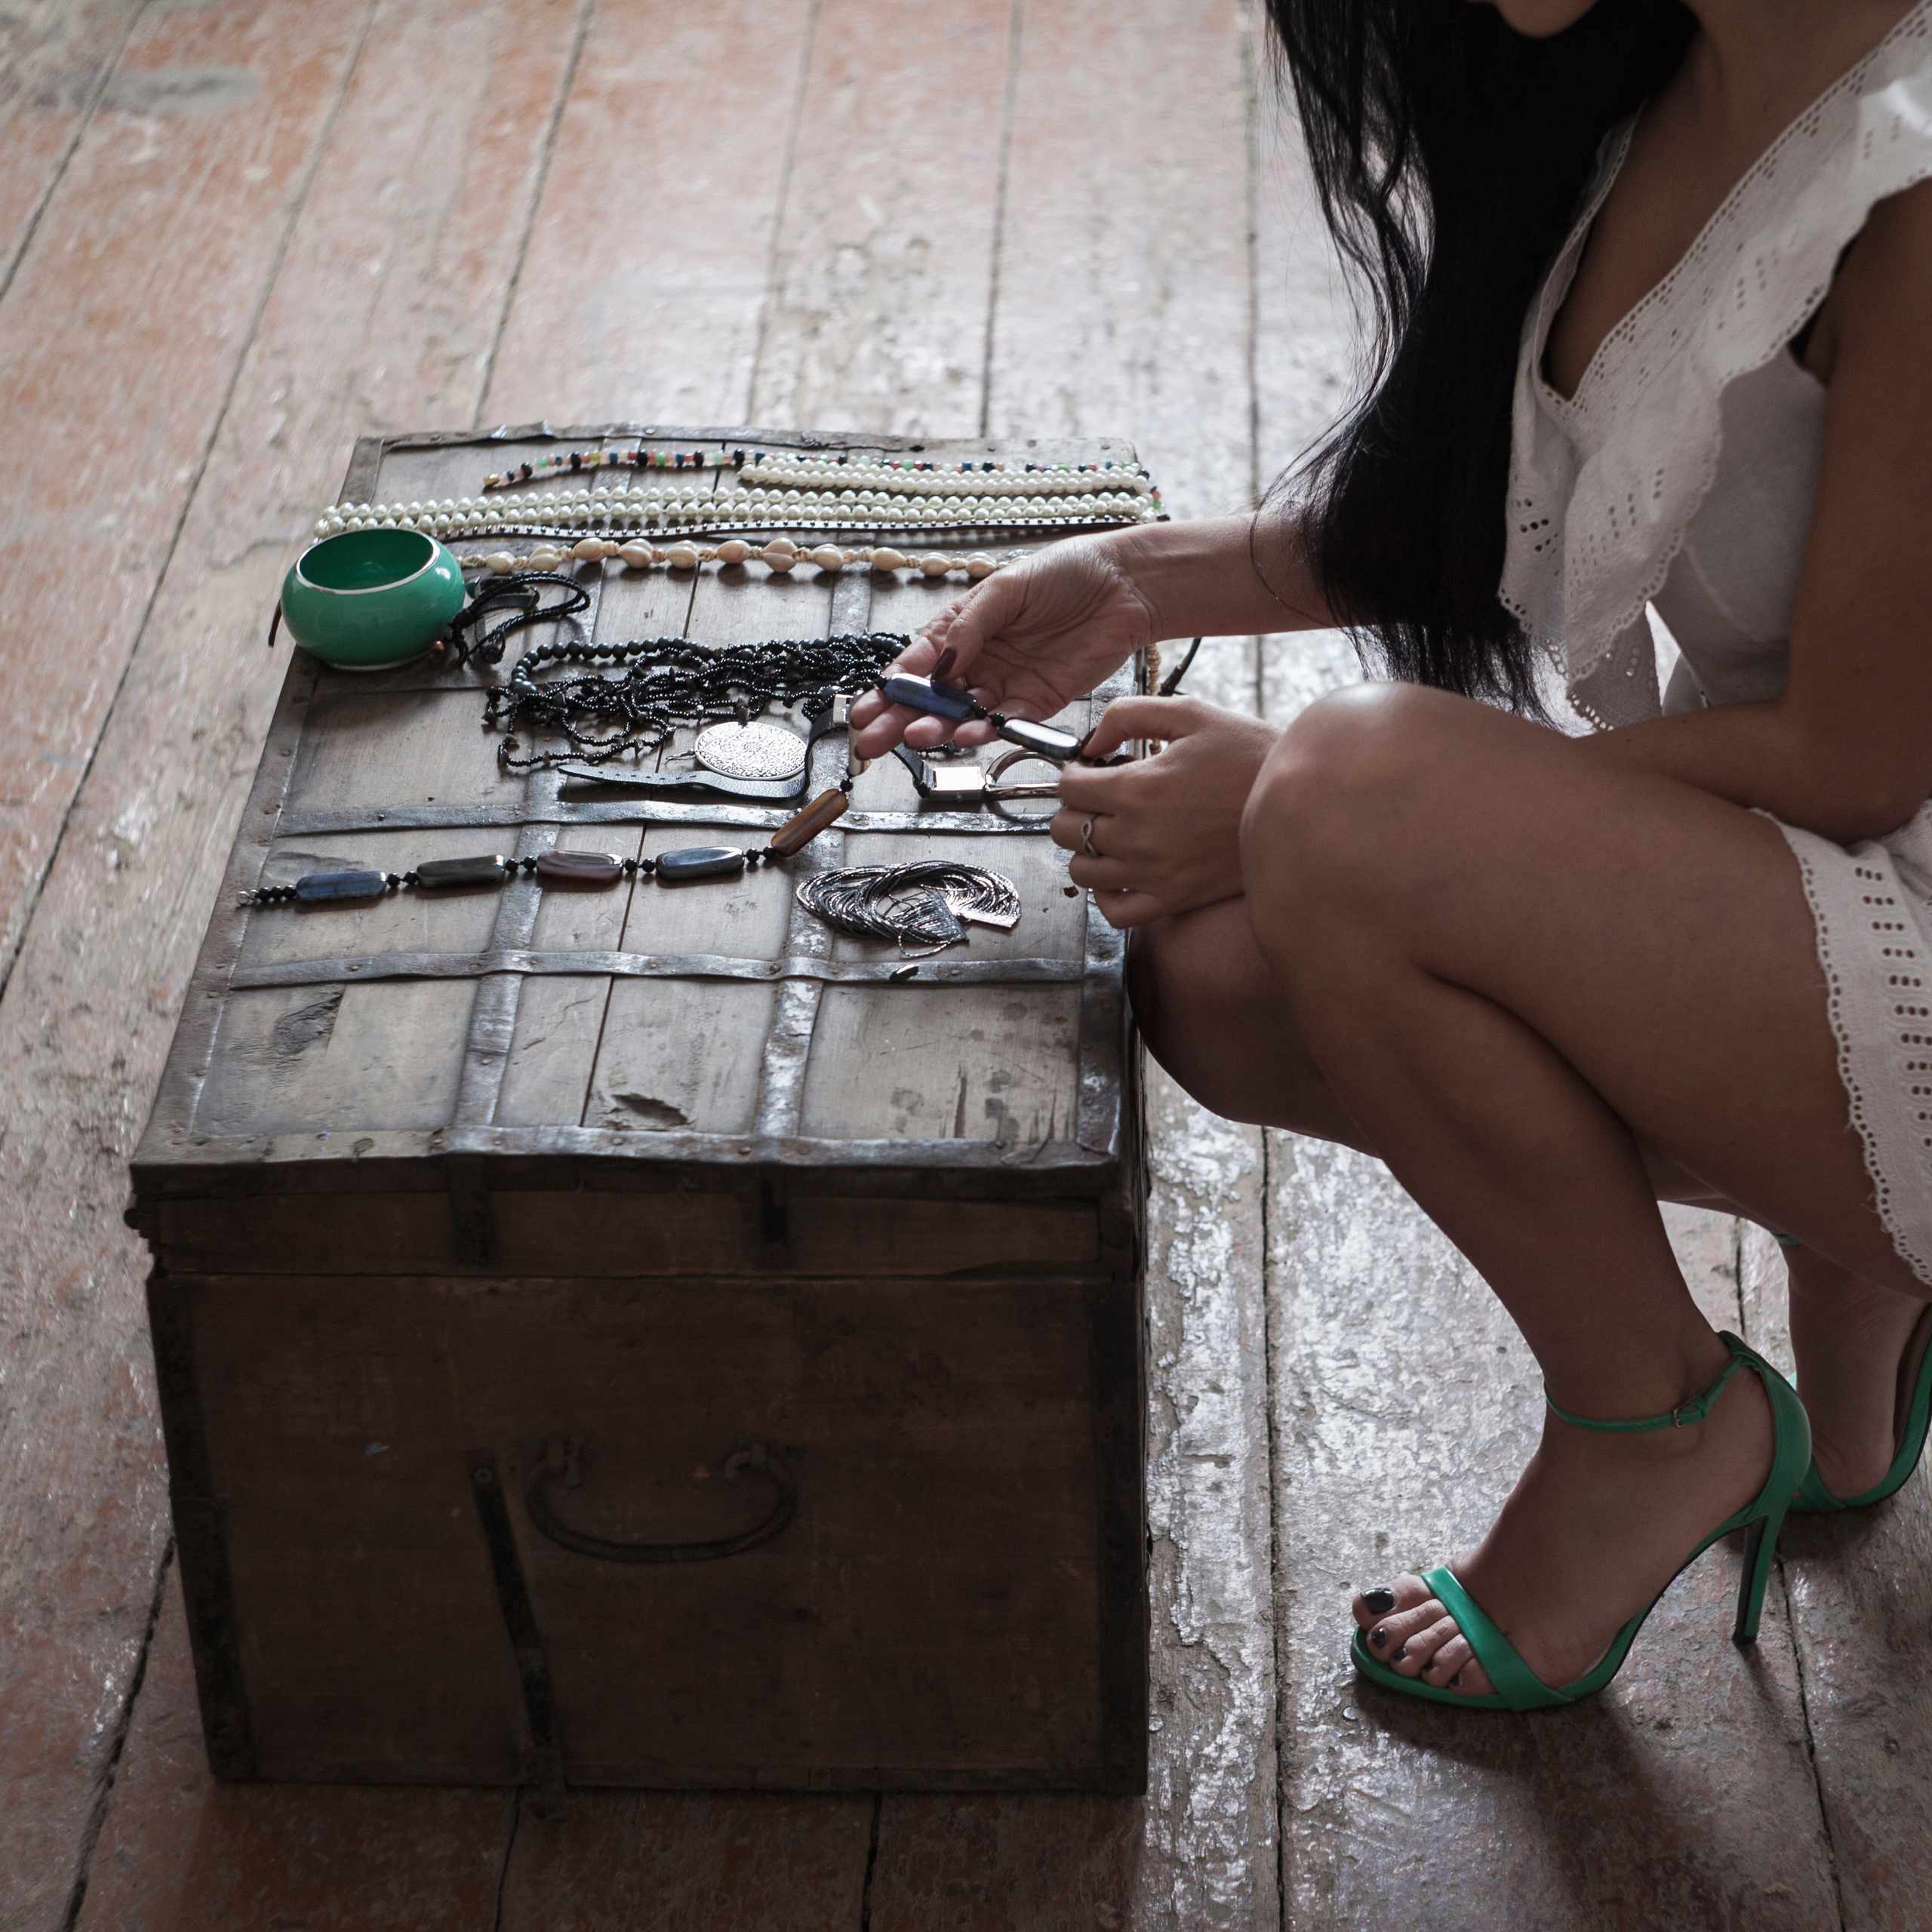
SMALL PARTS
Lay out beads, jump rings, chains, clasps, and findings on a bench mat before assembling a simple piece.
FINISH CHECKS
Use files, sanding sticks, and a polishing cloth to notice rough edges, weak seams, and surface scratches.
PRACTICE WITH CARE
BASIC TOOLS, SMALL MOTIONS, REALISTIC CHECKS
NOT SURE WHERE TO BEGIN?

ABOUT GEMHARMONY
GemHarmony is built around careful beginner practice in jewelry making, not rushed finished pieces or unsupported professional promises.
The course approach connects simple design choices with bench habits: measuring wire and chain, opening jump rings sideways, checking clasp strength, smoothing rough edges, and noticing how a pendant, bracelet, or earring sits before calling it complete.
Cleaner pieces come from slower checks.
FROM LAYOUT TO FINISH
A small jewelry piece begins before the first cut. Learners practice placing beads, cabochons, chain, ear wires, and findings on a mat so spacing, color, weight, and hanging direction can be checked before assembly.
The same careful pace continues through shaping, joining, filing, and polishing. Each step gives a practical signal: a marked wire, a loose seam, a scratchy edge, or a crooked clasp shows what to adjust next.